I’ve had my printer for a few years now and, up until today, the process I have used to print has remained the same: import .stl file into Cura, adjust settings and export as gcode to micro sd card, mount micro sd card in printer, and print said file using the slow user interface on the printer. There’s got to be a better way, right? Enter OctoPrint.
What isOctoPrint?
It’s a super powerful, customizable, and open source way to control your 3d printer. It lets you remotely control every aspect of the printer (axis stepper motors, extruder, bed temp, etc), pause and cancel your print, automatically handles the slicing of your .stl files in a simple drag-and-drop system, and a whole lot more. I chose to install it on a Raspberry Pi 3 Model B, as it wasn’t gainfully employed at the moment, so I used a purpose-built image of OctoPrint called OctoPi.
The features that most interest me are a) remotely managing prints to include canceling and monitoring by video, and b) allowing simple drag-and-drop from any device to the printer. This would allow me to start prints in the morning and be able to monitor it from anywhere in the world, stopping it in case something goes wrong (which they often do). Up until this point, I’ve had to constantly check on the prints, which means I usually wasn’t comfortable leaving the house with a print going, except for my Boba Fett helmet project which took almost 2 weeks of constant printing.
Octo-Pi Setup
There were no real surprises here, I just followed the guide listed on the official website. The only changes I made were to the network configuration file and added my home SSID and password, as I opted for a wifi connection instead of a hard-wired one because I’m lazy. To get to the interface, you just navigate to the ip address or hostname of the OctoPi.
Camera?
Since OctoPrint includes built-in support for wide range of common webcams, sets up a live stream for your printer, and can even do a timelapse natively, it was an easy decision to get those features for my lowly printer. I don’t actually have a spare webcam, but I do have a few old Android phones. So I wondered, could you configure OctoPrint to use a network camera? Turns out, you totally can!
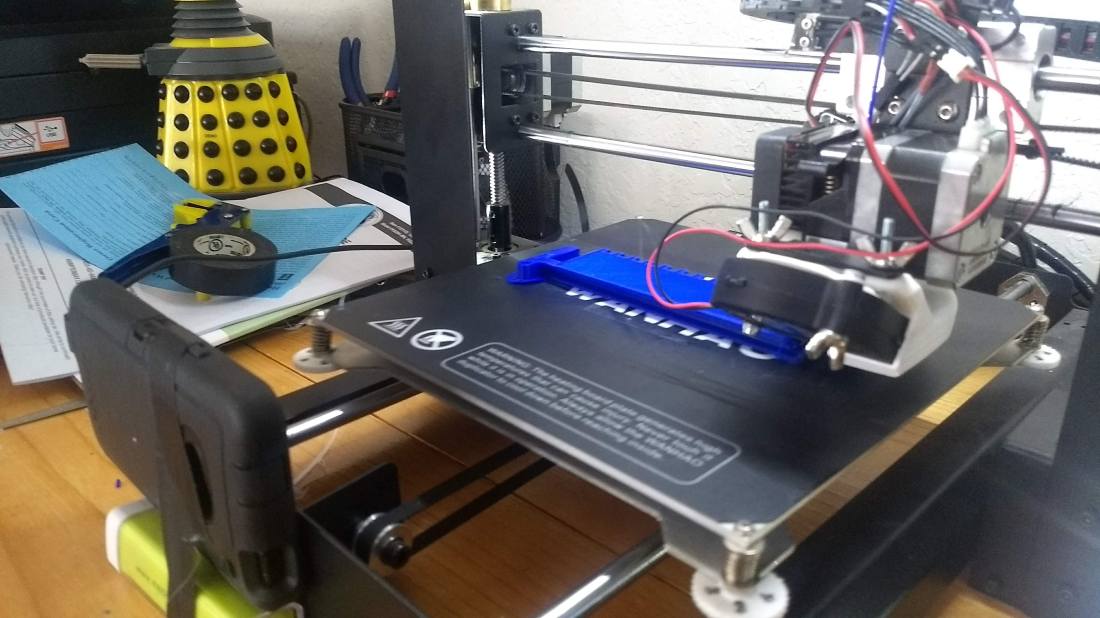
Here’s the guide I used to get it going, in case you want to replicate it. All I had to do was install the IP Webcam app on my old HTC One M7, assign a static IP address for the phone, then add it stream address in the OctoPrint settings. Then make sure to make a very stable, very custom phone mount that holds the only working camera in a halfway-decent position.
Does it work?
Hell yeah, it does! Everything works!
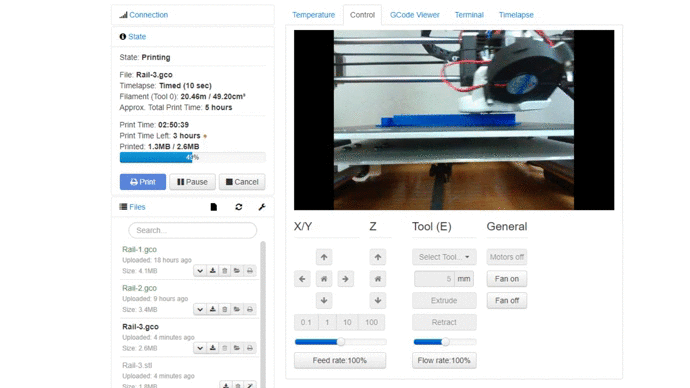
The phone worked surprisingly well and was pretty quick to setup. I’m currently at hour 5 of a 6 hour print that I haven’t had any luck with previously, though I think that might have been due to the crappier PLA filament I was running until this morning. Regardless, This is the best print I’ve had since I put the printer back together a few weeks ago and I’m pumped! Considering this project only took me about 2 hours this afternoon and I now have a plethora of new features/added control over the prints, I can’t believe I didn’t tackle this earlier!
